An Omarchy Journey (Part 1)
I was sitting on the sidelines, enjoying watching @DHH create a Linux distro that seemed interesting and well designed. Or at least designed with good intentions (I couldn’t tell for sure until I tried it for myself). The itch to try it out was getting stronger.
Then this landed in my feed:
This tweet could not be embedded. View it on X (Twitter) instead.
As a fan of Diggnation and Kevin, I used this as a sign to figure out how to test this thing out. Looking around my office, I didn’t see a lot of options. Then I saw the very old, and very slow, Chromebook that used be my dad’s until I upgraded him to a more recent (and faster) version. This laptop seemed to fit the bill: not needed for any production work, x86-based (I heard ARM was not the focus right now), and I didn’t care if anything went wrong.
Note that this was before DHH released Omarchy 2.0 which greatly simplifies the install process!1
Unlocking the Chromebook
First challenge: Chromebooks are locked down to just ChromeOS. Turns out, the “lock” is a physical screw inside the machine. I suppose the protection is to keep kids in school from doing too much digital damage (although, I’d be rather proud if my daughter dual-booted a machine).
Following the steps on MrChromebox.tech, I started with getting the machine into Developer Mode:
-
ESC+Refresh+Powerat the same time-
CTRL+D→ This brought up a warning asking for confirmation to “Enable Developer Mode”. -
ENTER→ The system rebooted and brought me to the “You are in Developer Mode” screen. -
CTRL+D→ Booted from internal disk.
-
- “Preparing Developer Mode” took 5 minutes.
- At the login screen, pressed
CTRL+ALT+F2(F2is right-arrow on most ChromeOS keyboards), then logged in as userchronos(no password is required). This gave me a VT2 shell (whatever that is). - Now I unplugged the machine and forced shut-down.
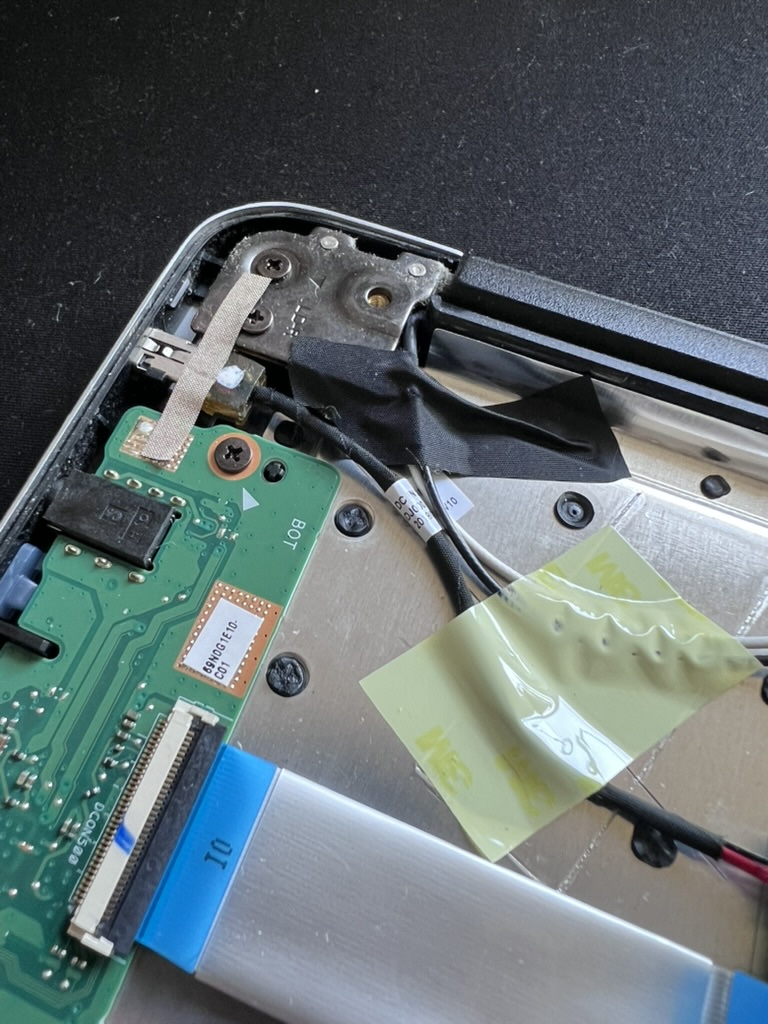
Removing the back shell took 10 tiny screws. Not all of the screws were the same size. 2 of them were longer (the ones that were near the hinge).
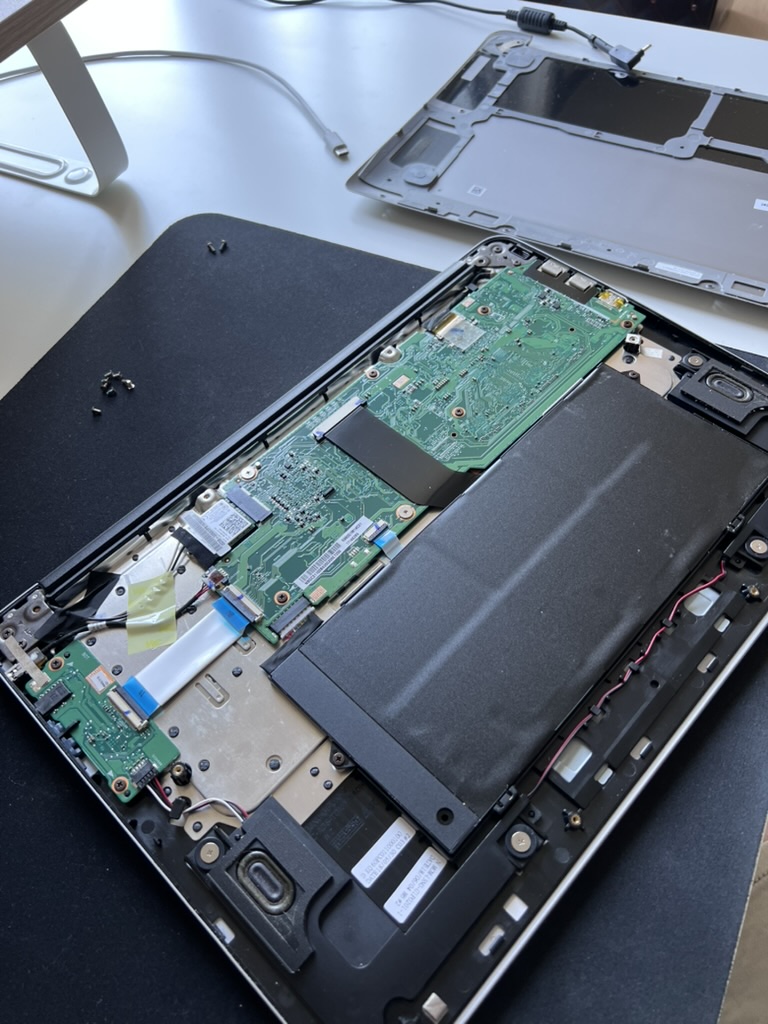
Next step was to panic when one of the screws dropped on the floor (they are tiny). Then I sat and admired the intricate parts of the inside of a laptop. I’ve seen plenty of Linus Tech Tips tear-downs but opening one up and seeing with your own eyes is still a great feeling. Even as I marvel, I had to laugh at the stuff that’s just taped down. Seemed so at odds with the precision of the circuitry.
After determining that my board was named Edgar, I couldn’t help but think of Strongbad’s antivirus software of choice. The screw was a lot tighter than I expected. I ended up using a power-drill (I can’t imagine that’s recommended).
After putting all the screws back in and turning the laptop back on, I was put into the VT22 shell.
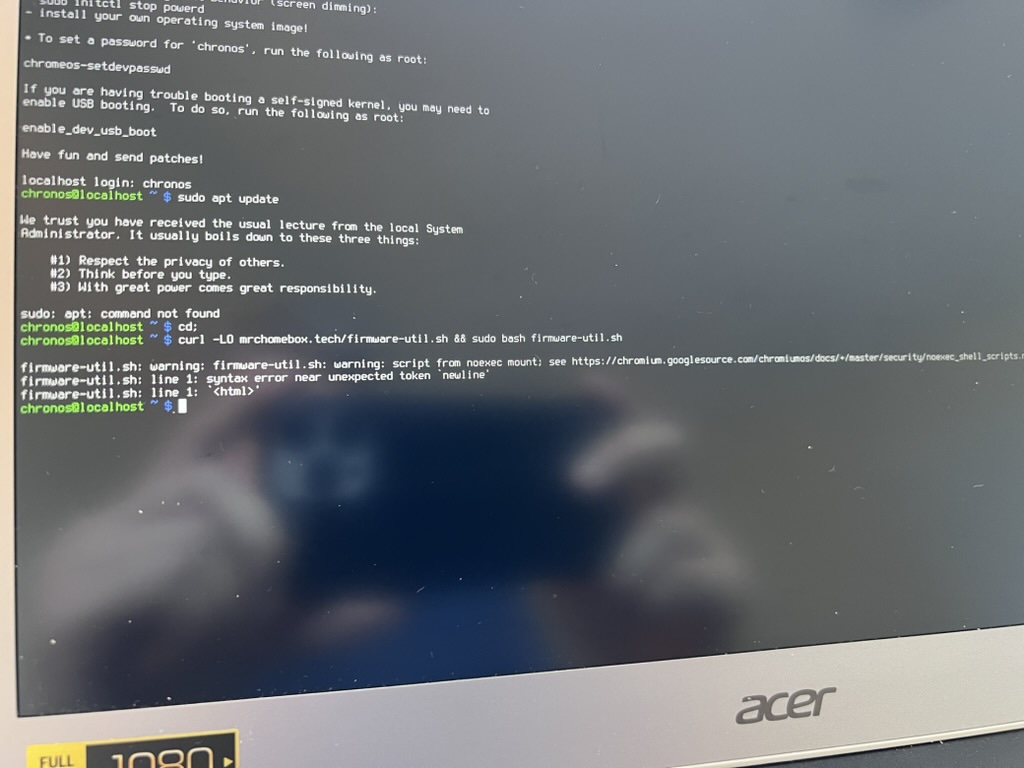
Now it was time to install the Firmware Utility Script. Note that the url in curl needs https:// otherwise you get some weird error. I scrambled around to look for a USB drive to backup the original firmware but even though the process was successful, MacOS showed that the drive was blank so I figured there was no going back!
Installing Omarchy
Since this process is largely obsolete once Omarchy 2.0’s ISO was released, I’ll skip over the finer details. I grabbed Arch from the University of Waterloo and got it onto the USB drive with BalenaEtcher. Watching a million lines of text zoom by as the OS installed had a bit of a Matrix or hacker feel.
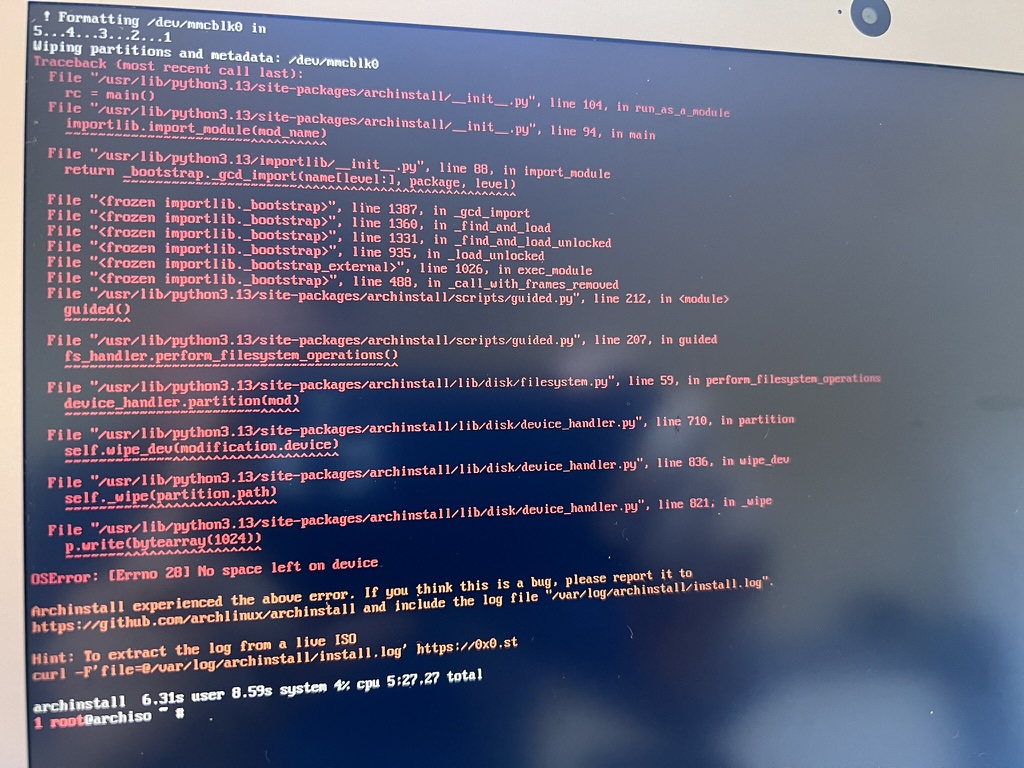
One interesting thing to note was that the first attempt at installing failed while complaining about no space. Turned out that all the ChromeOS stuff was still on the drive. sgdisk --zap-all /dev/mmcblk0 then wipefs -a /dev/mmcblk0 got everything cleared and ready to start over again with the Arch install.
Installing Arch and Omarchy took over 30min which might have been partially caused by the DDOS attacks on AUR or the Chromebook being slow (or both).
This tweet could not be embedded. View it on X (Twitter) instead.
Again, 2.0+ solves this by hosting separate versions of all the needed packages behind Cloudflare.
Using Omarchy
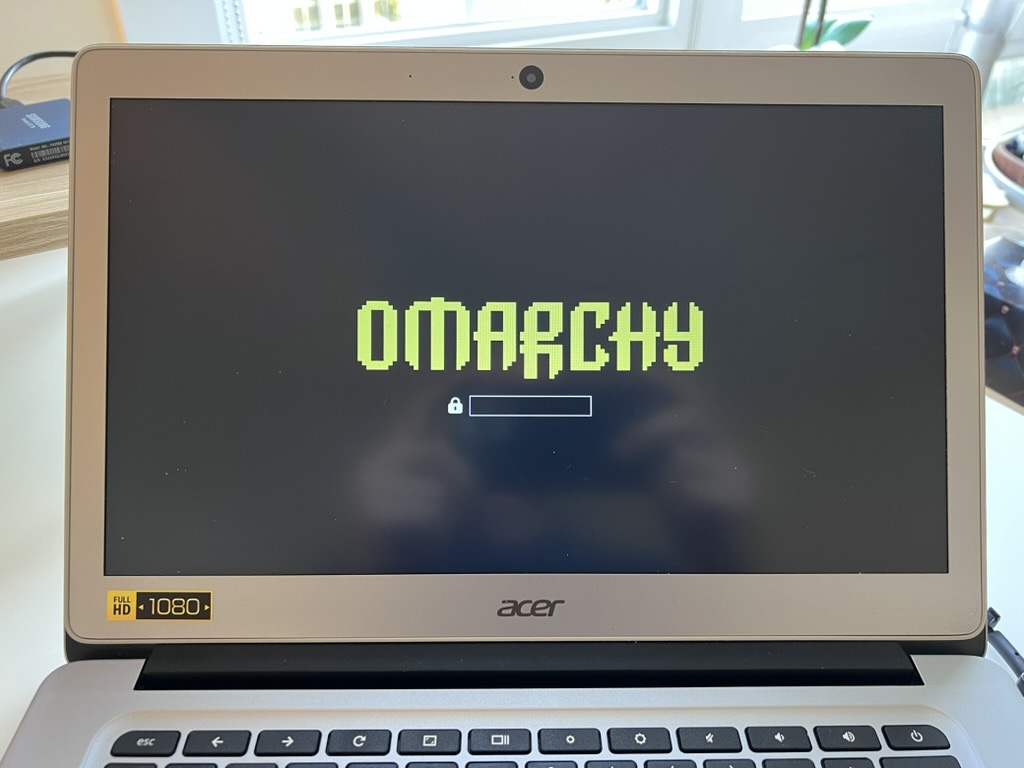
As I started poking around, I had to discover that the Super key in Omarchy’s documentation is actually the Search key (which is normally where the Caps Lock key is) on Chromebooks. For someone new to Linux, explaining what Super is would be helpful.
So many parts of the experience were very familiar. For example, folders like Documents, Downloads, etc and a Finder-like app to navigate it all felt very MacOS. Chrome and other web apps worked as expected.
The only outlier (early on) was Neovim. It’s set as default for pretty much any editing or configuring. However, the first time it launches, the UX is very strange. I think it’s installing plug-ins but there was no explanation of what’s happening or what to do when it’s done. I defaulted to the best problem-solver: I closed it and opened it again. Now I saw a fairly normal menu and the option to create a new file. Triggering commands with Space didn’t work for me so I gave up and just installed VS Code(which you can do very easily in the Install menu).
End of (this) road
After fiddling around with the monitor scaling settings, the screen was still showing it’s shortcomings. I had to RTFM to learn that Omarchy assumes Retina displays by default (which this Chromebook is certainly not).
Besides that, the real problem was performance. This machine was just too slow. Even with all the praise that Linux/Omarchy can revive old machines, I had to concede my patience is not infinite. But… what if… just maybe… this was running on something faster?
Continue the journey here → Part 2